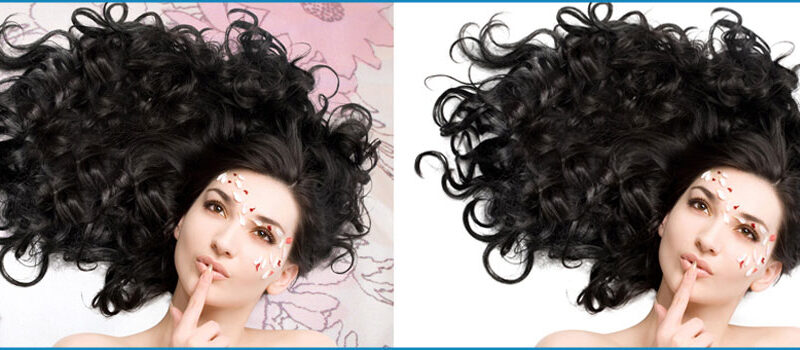

Are you tired of cropping complex images like hair and irregular edges as opposed to a faultless background? Are you interested in learning about Photoshop tools to make this work easier for you? No problem, in this free photo masking post, you’ll learn about the photoshop hair masking method to make your job easy and quick.
Photoshop image masking tool comes to give you the best way to make your complex editing task easily. And hair masking in photoshop is one of the most prominent and difficult tasks in photo editing services, without any doubt.
So, without further ado, let’s jump to the bottom of the ocean, to find out the best jewel which makes our job simpler and more effective.
Free Photo Masking Quick Guide For Photoshop Hair Masking:
To be very honest, there is no quick method for hair masking in photoshop but a few easy steps. And if you implement these steps clearly, you’ll have the possibility to make the job done effortlessly.
So, here are the three (03) general steps, you must follow to do your hair masking task:
Step 01: To make a basic mask for your model, use the Select Subject Tool.
Step 02: Now, run the Select and Mask workspace, and then adjust the mask through Refine Edge tool.
Step 03: And lastly, to finalize any extra details use manual masking tools.
Detailed Guideline For Photoshop Hair Masking:
In the photo editing category, photoshop image masking is the most favorite and eminent tool for making difficult masking, like hair masking and removing background from a complex picture. But now, we’re going to make it easily and simply:
Step 01: Subject Selecting:
The very first step we’re going to take is to open a tool named the remove background button. To make general masking this tool is very accurate to use. In photoshop, when you open your picture, it may be shown locked. So, hit the lock icon and start the editing process.
Now with a click, photoshop will able you to engage the Select Subject command. And after that, a new layer will generate automatically to hide your image background.
Step 02: Mask Refining:
Now, hit on the newly generated layer, then go to the Select menu and click the Select and Mask option. The next step is to use Refine Edge Brush Tool. For that, look carefully at your image and paint the areas you want as an edge on photoshop. When you're satisfied that no portion of the model’s hair has escaped, then switch to the initial Brush kit if essential.
Now, use the Shift Edge tool for Smoothing, feathering, and Contrast options, when you’re masking hair. It helps to automatically remove halos all over the model's hair strands by narrowing the edge selections to the negative range.
Step 03: Manual Refinement:
At last, I can assume you want to do some extra manual refinements with the masked hair. In the masking process, most photo editors use their custom brushes to paint extra hair effects on makeup defects. But sometimes making custom brushes is a bit difficult to meet the needs.
Final Verdict Of free Photo Masking:
Though it’s a very short guideline for photoshop hair masking, if you carefully read this free image masking post, it won’t take you astray. And I can assume after reading this post, you can really meet your needs.
Also, I can strongly suggest you practice as much as you can, as photoshop image masking is one of the greatest and most challenging tasks in the photo editing sector. So, as much as you practice the more your skill develops. Happy Masking.


0 Comments